Pages

Thursday, May 27, 2010

Just another chalkboard!

I know there a a million chalkboard projects out in blog land, but I hadn't done one yet so here it is.
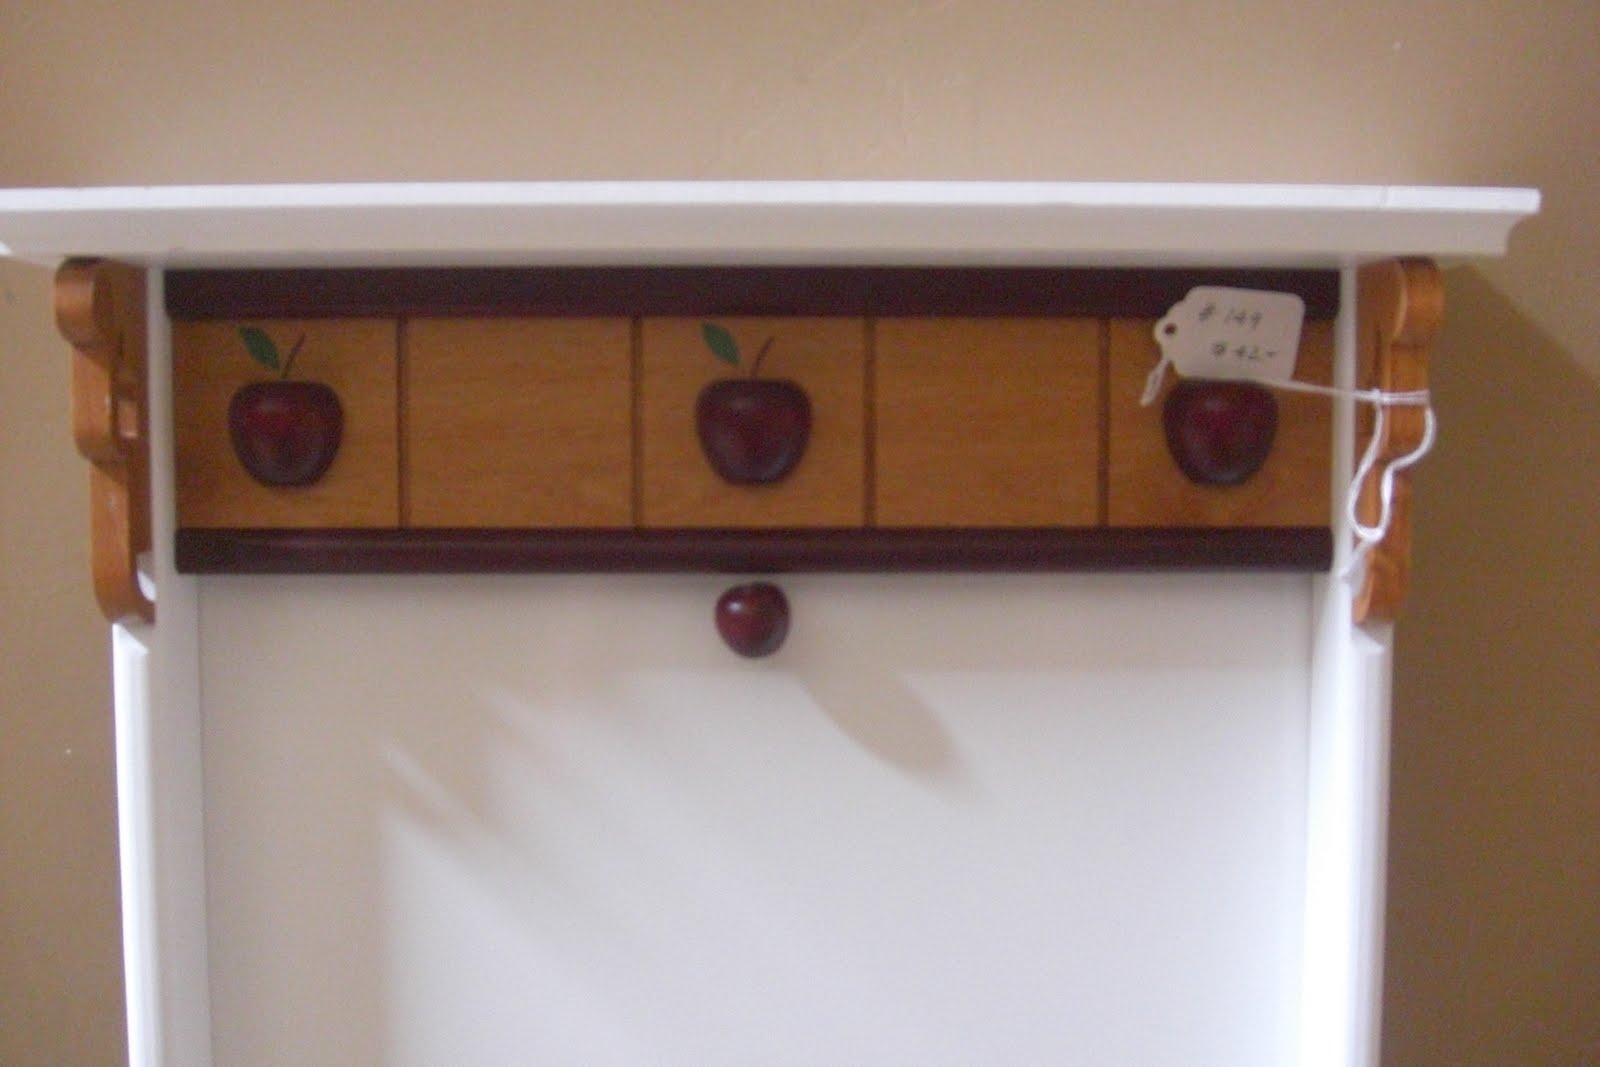
I found this calendar holder that was the perfect size for an empty wall in my kitchen.
Do you see that $42.00 boutique price tag!..........ya right!  I paid $2.


Ripped off the apples, and scrolls on the sides. Primed and painted then added a coat of glaze.
 My kids have loved leaving notes to each other.

Linked to:


Monday, May 17, 2010

Cabinet...Nightstand....Dresser..... whatchamacallit.....thingamajig!

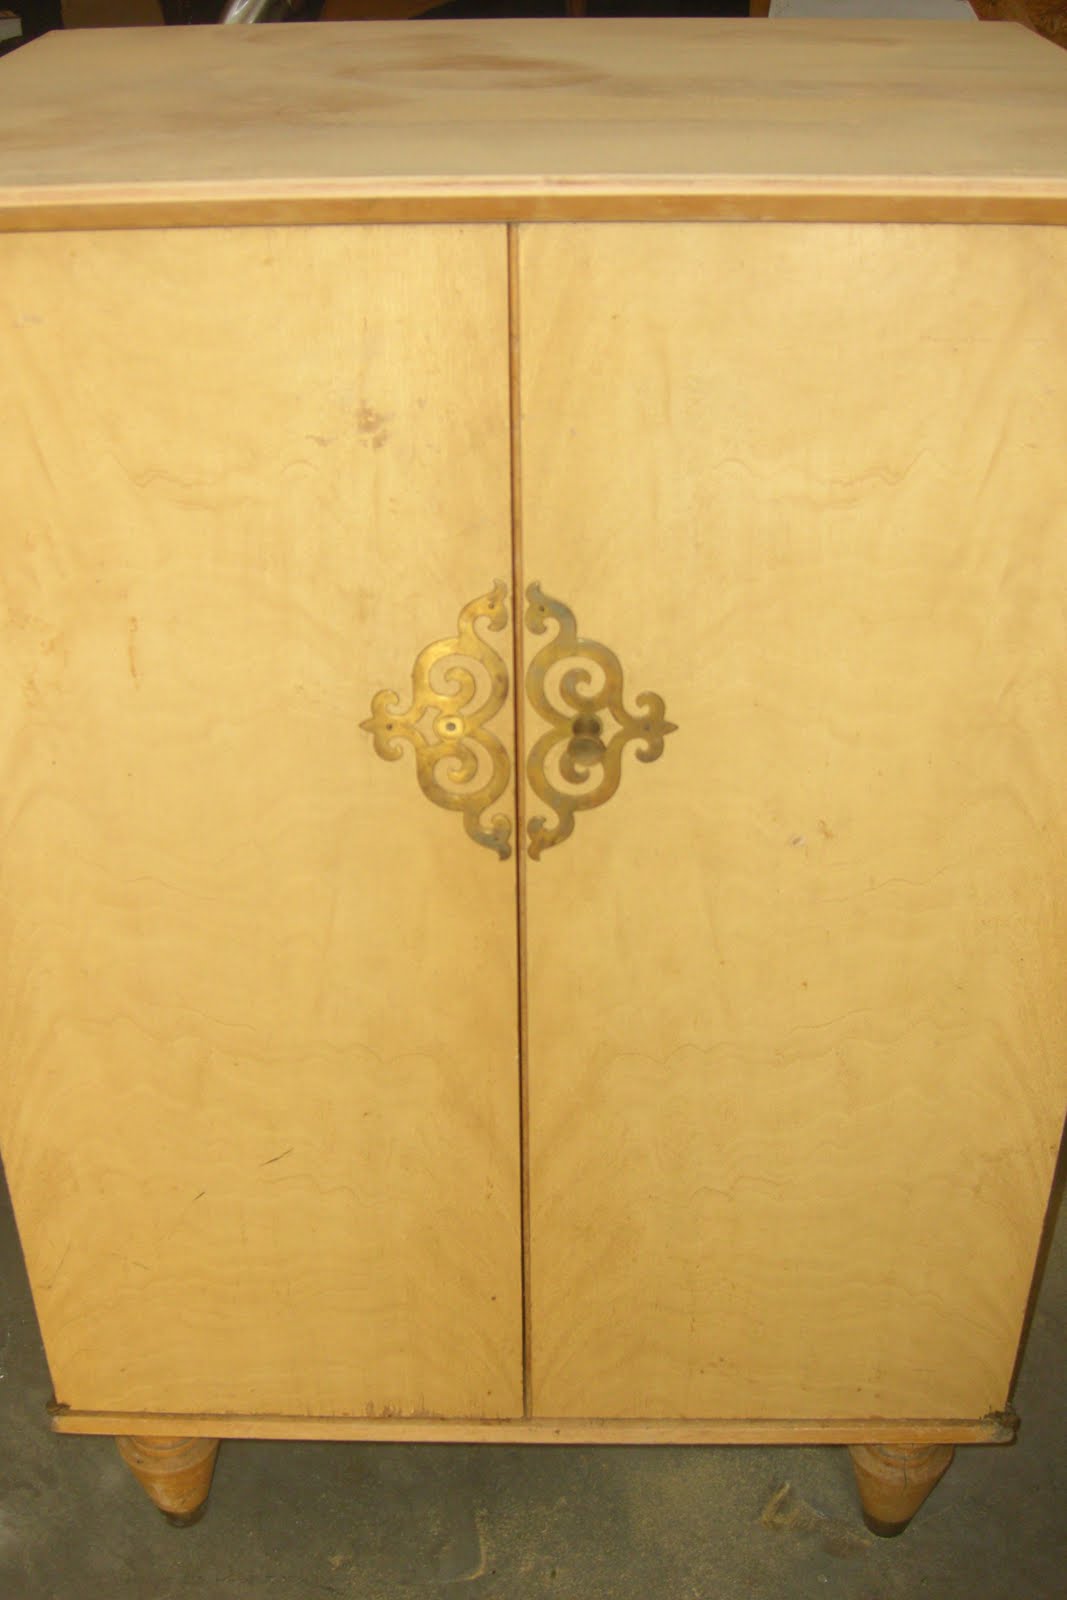
I have been looking for a nightstand for a loooooonnnnggg time to for our master bedroom. The issue was the bed, it is big and high so a regular size nightstand just looked funny next to the bed. When I was out treasure hunting I found this piece for $10. It is taller than a nightstand, smaller than a cabinet..not sure what this thing is, but the size was perfect. The looks on the other hand weren't perfect.... pictures don't do it's ugliness justice, it had coats of yellowing polyurethane, it had that old smell and the inside was really beat up, but I loved the lines and the metal details on the doors.

I normally don't take on all the work of stripping down and sanding off all of the finish, but this piece really needed to be cleaned up! So a few hours later I was down to the raw wood.


I removed the metal scrolly things and sanded again with a lighter grit paper....just like new!
After this I primed and spray painted with Krylon Brushed Metallic in nickel. I liked the finish but the silver color looked cheap. I needed to add some depth to the color and also to bring out the details. So I used a dark brown glaze over the silver, much better. (sorry no pictures of that step)

Added some glass knobs and its done! I really like how it turned out.


Linked to:
southern hospitality
http://linda-coastalcharm.blogspot.com/


Photobucket

Visit thecsiproject.com

Wednesday, May 12, 2010

Topiary

When I saw this topiary for $2 I snatched it up! I new all it needed was a little TLC. First step...rip off all the ugly, dated silk ivy.


I hot glued a bag of moss from the dollar store to the grapevine. I am proud to say not one glue gun burn! Very unusual for me!


I sprayed the moss with Design Master in fresh green. This spruced up the color. If you haven't ever used Design Master it is a great product. It is made for the floral trade but can be used for many projects. The "Just for Flowers" line is a color glaze rather than a paint, so its great for adding a hint of color.


You can see in this picture how the paint brings the color of the moss to life.
I found a pot I had in the garage...and waaalaaa........ Not bad for $3.

Linked to:


Photobucket

Wednesday, April 28, 2010

Thrifty redos!

Happy Wednesday everyone! My intent was to post on this blog more than once a month!...sheez.....I will have to work on that.
Here are a couple of thrifty redos.

Some Befores.........


And After


I wanted to lighten up this dark hutch, so I decided to go with the yellow.......besides who couldn't use a little more sunshine!!


Linked to:


Monday, March 15, 2010

Dresser makeover!

Happy Monday everyone! I am so excited the sun is shining in my neck of the woods today! Anyone else getting spring fever!
I have been busy working on this dresser redo. This was my grandparents dresser from many years ago. I hated to see it get thrown out so I thought I would give it some TLC.


I was so anxious to get started I forgot to take a before picture!
I removed the drawers and took a hammer and my foot (I am so professional!) to the drawer dividers on the top row. Then I had a piece of MDF cut to fit over the slats for a smooth shelf and to reinforce the drawers below. I didn't feel the need to sand because I used this Bulls Eye 1,2,3 primer. I love this stuff it sticks to anything!


I painted the dresser with Benjamin Moore High Gloss Metal & Wood Enamel in black. The drawer pulls are from Lowe's they were on clearance for $.96 each! They are a antique gold (not as brassy as they look in the picture, I haven't decided whether I will paint them pewter or not???


Linked to:

The DIY Show Off

Sunday, January 31, 2010

Thank you so much for the comments on the chair redo. When I was posting I didn't think anyone would actually be reading my blog! You have motivated me to do more and finish all the projects I have laying around here!

I thought I would share this idea for sidelights or any window you would like to add a design to. I have two windows on the side of my front door. It would drive me crazy when people would come to the door and look through them. Privacy people! I really liked the look of the faux rod iron, but at a price of $125 a window I new I could do better! (I am really thrifty like that!)

My brother has a vinyl business, so I talked him into cutting these for me. So they were free! (But if you would like some, he would sell them for around $40-75 a window depending on the size and detail.)


We first cut out the brown layer and then added a frosted vinyl over that for the privacy. I liked it both ways, you wouldn't have to add the frosted layer. I love how it still lets the light in, and it looks so neat at night when the porch lights illuminate through.


So what do you think? I need to get a better camera and become a better photographer, but hopefully you can get the idea. The best part about it is it's vinyl so when you are tired of it you can just peel it right off. I choose a dark brown, but you could do any color you wanted. My brother liked it so much he did a frosted vinyl on his windows. He likes more of a modern look and did a geometric square pattern that looked really great.
Wednesday, January 27, 2010

5..........4..........3..........2..........1

OK folks, here it is... my first blog post! I have been wanting to do a blog for a while and have been putting off getting started. So at 11PM here I sit instead of being on the treadmill, I am blogging! Be patient, it might take some time to get it slicked up around here! I have much more talent when it comes to tangible projects!

Well lets start off with a chair redo! On one of my treasure hunts I saw this out dated, forest green check chair for $4. It was very sturdy and the foam was in good shape. I thought it was a great deal and would be the perfect size for my daughter's room. It's not a small kids size chair but it's not full size either?? So it was perfect for my growing 7 yr old.

BEFORE


It was at this point when my husband walked through the door! He thought I had lost it when I told him that I had just bought this chair! (Oh, he has no idea what he is in for!)


And here is the AFTER. I didn't get a picture, but it looks cute in my daughters room against her butter yellow walls and bright tropical bedding.
With the trim, fabric and chair this project was a total of $20 and took me an evening to do! Not bad for an nice upholstered chair!

Linked to: